Cloud PostgreSQL Servers with Heroku
While it might be possible that I’m the only person out there who didn’t want to hassle with creating a Postgres database on my computer that needed to be passed around to my project-mates, I have a feeling there is one lost soul in the universe besides me who might find this useful. When I first tried to use Heroku’s PostgreSQL database add-on the only documentation I really found was for attaching it to existing Heroku apps. I just wanted a dev environment and currently don’t have plans to deploy the app with Heroku so I just wanted to “borrow” their free level of database storage.
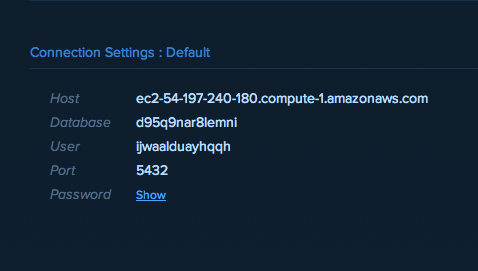
It is shockingly easy. All I needed to do was log in to my Heroku dashboard and click the databases tab. From there I created a new database (be sure to choose the almost hidden Dev Plan (free) option on the lower left). Once it was done spinning up if you click on it, you are taken to a page with all the login info you could ever need:

I just plugged all of that info into Sequelize (see my previous post), because I’m using Heroku Postgres, I had to make sure I used the pg.native options in both Node and Sequelize.
A few caveats! For a Mac, if you just install the Postgres standalone app from PostgreSQL, life will not be pleasant (I learned this the hard way). The easiest way to make life happy is to use Homebrew to install Postgres. Please have Homebrew, it makes life super easy. All you need to do then is brew install postgresql.
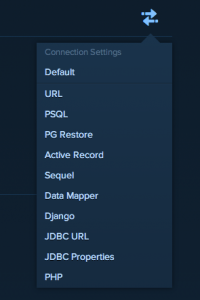
The second awesome thing about Heroku Postgres is that although I’m only on the free version, I can still easily log in to my database from the command line and change things. On the page with the connection info, click the double arrows on the right and choose URL. Now, in Terminal type psql DATABASE_URL_HERE and voila! direct access to your database.
